Dreamcatchers
Pages
Home
Shop
Looks
Recipes
Nail Art
Make-up
Hair
Inspiration Board
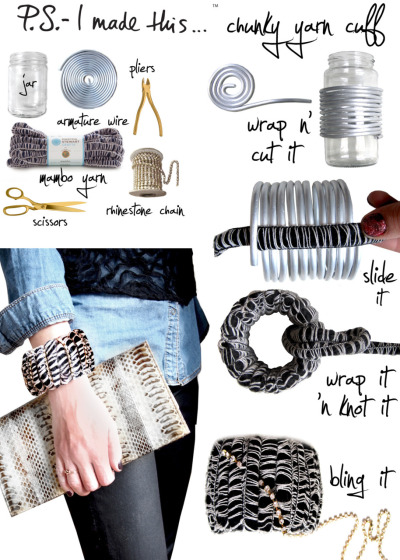
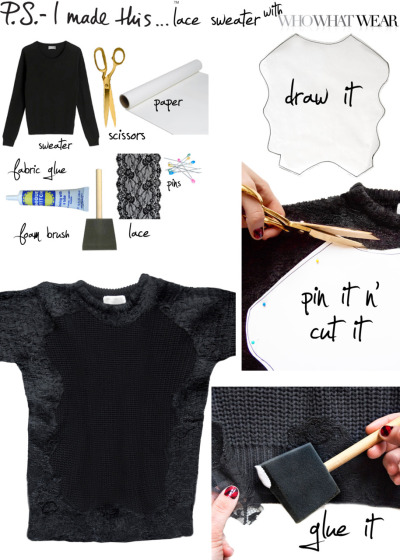
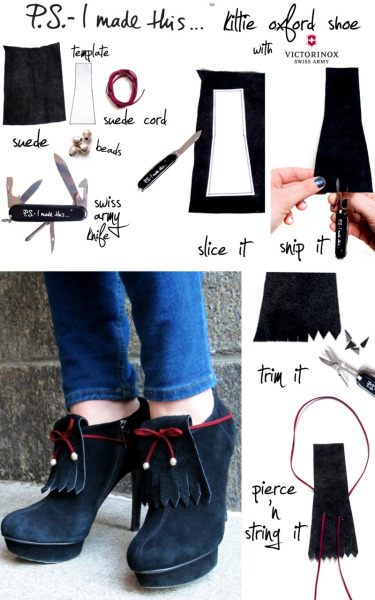
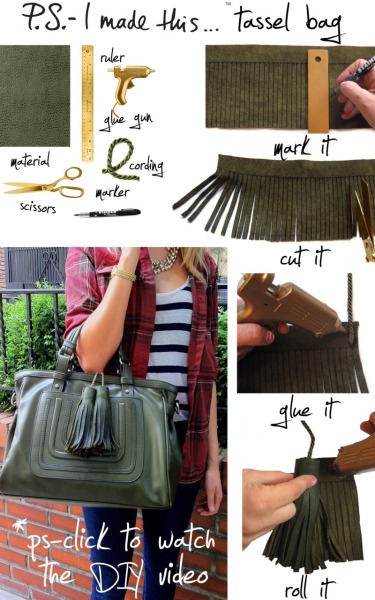
DIY
DIY
Home
Subscribe to:
Posts (Atom)